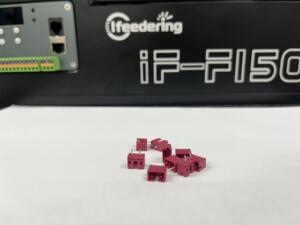
Flexible feeders are an excellent addition to any assembly line due to their versatility, speed, and ease of use. They are particularly useful when dealing with parts and products of varying sizes, shapes, and materials.
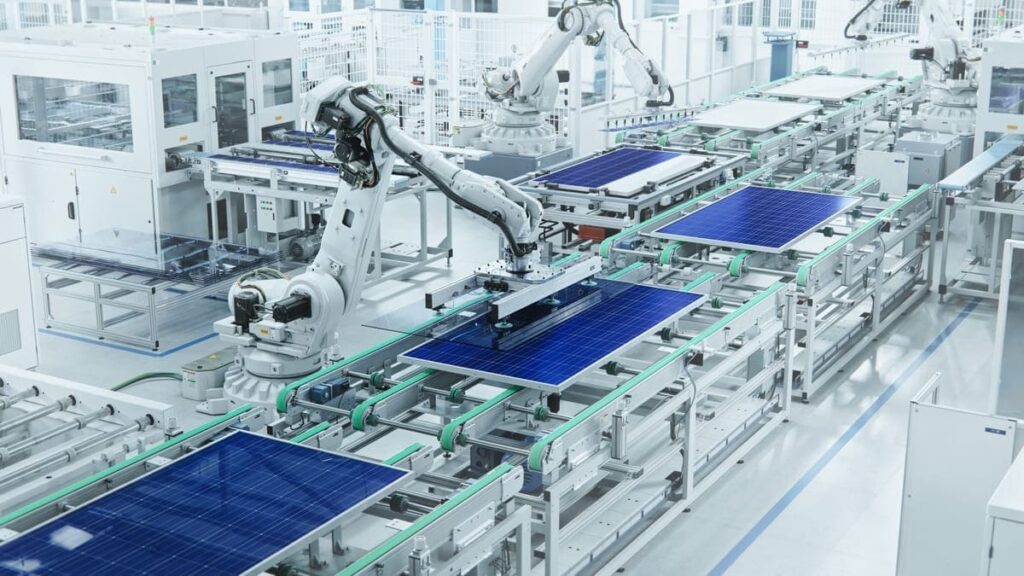
However, integrating a flexible feeder into your assembly line can be a daunting task, especially if you are unfamiliar with the technology.
In this article, we will discuss some tips for integrating a flexible feeder into your assembly line, including the benefits of using a flexible feeder and the steps involved in the integration process.
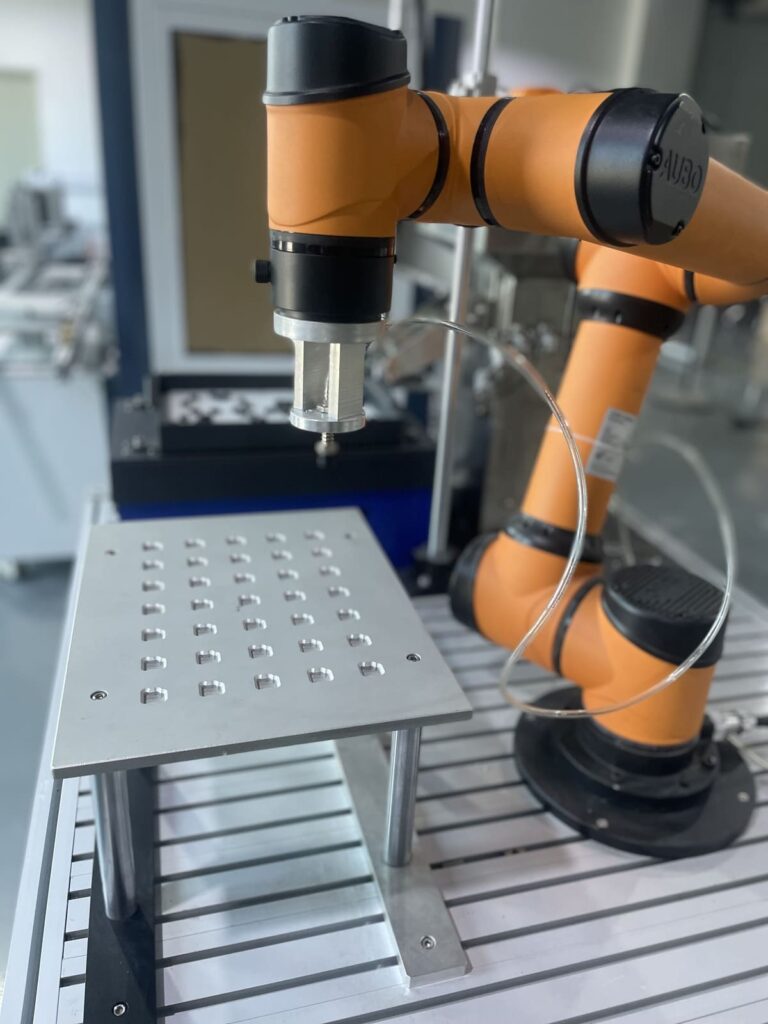
Benefits of Using a Flexible Feeder
Before we discuss the integration process, let’s first take a look at some of the benefits of using a flexible feeder in your assembly line:
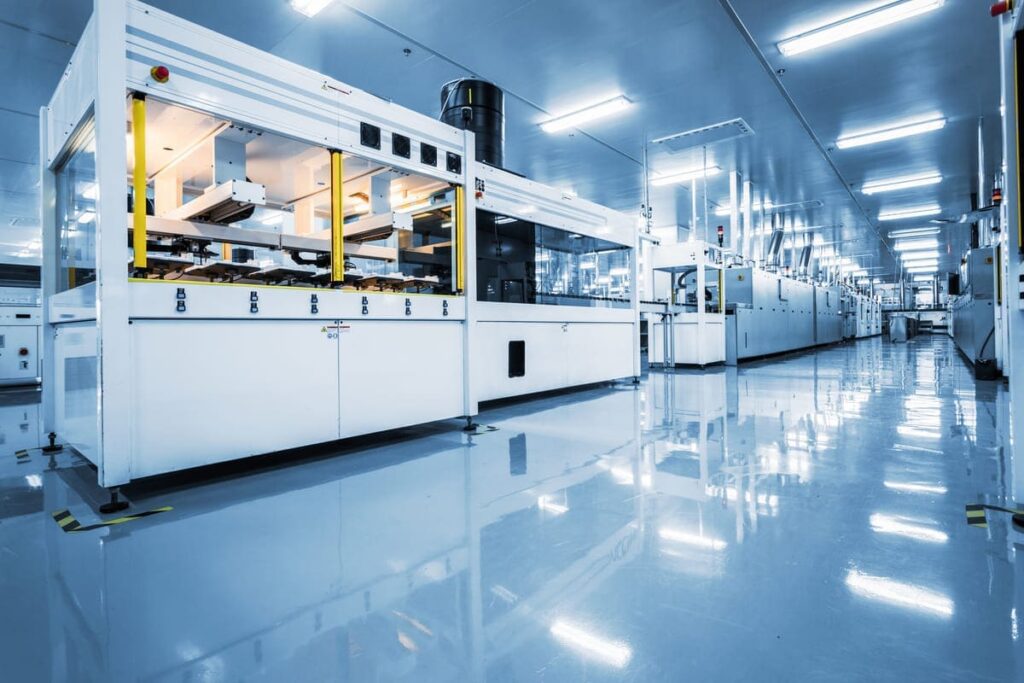
Increased Productivity: Flexible feeders are designed to handle a wide range of parts and products, which can help to increase productivity by reducing the need for manual labor and minimizing downtime.
Versatility: Flexible feeders can handle parts and products of varying sizes, shapes, and materials, making them a versatile addition to any assembly line.

Speed: Flexible feeders can feed parts and products at a high rate of speed, which can help to increase the throughput of your assembly line.
Ease of Use: Flexible feeders are relatively easy to use and can be operated by a single operator, which can help to reduce labor costs.
Steps for Integrating a Flexible Feeder into Your Assembly Line
Now that we’ve discussed the benefits of using a flexible feeder, let’s take a look at the steps involved in integrating a flexible feeder into your assembly line:
Step 1: Determine Your Feeding Requirements
The first step in integrating a flexible feeder into your assembly line is to determine your feeding requirements. This includes the type of parts or products you will be handling, the size and shape of the parts or products, and the rate of speed at which they need to be fed.
Step 2: Choose the Right Feeder
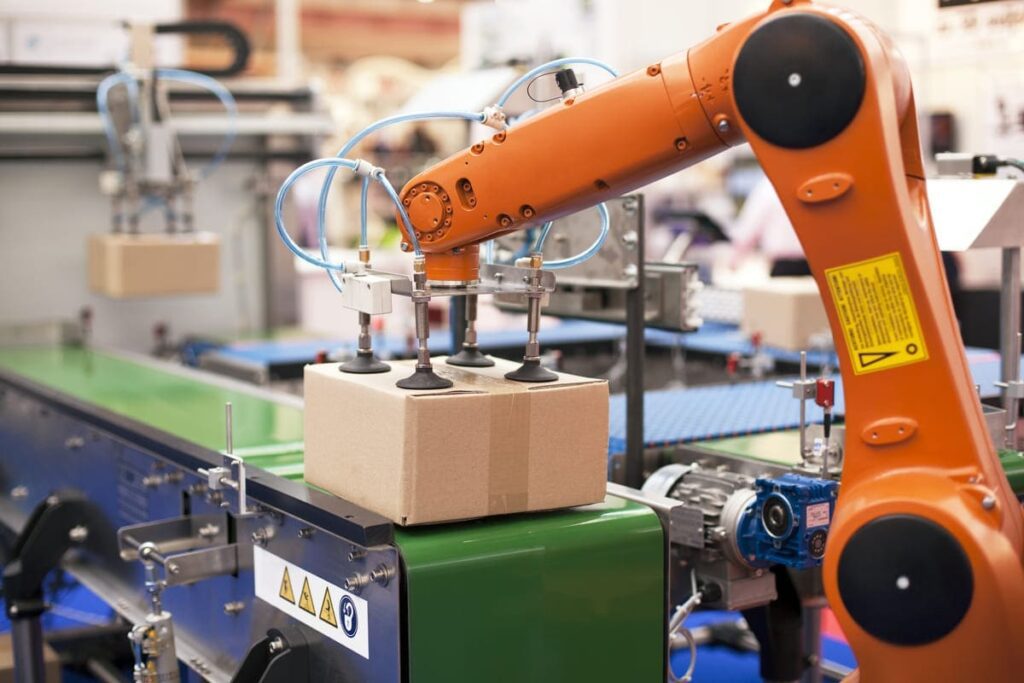
Once you have determined your feeding requirements, the next step is to choose the right feeder for your assembly line. There are several types of flexible feeders available, including vibratory bowl feeders, vision-guided feeders, and pneumatic feeders.
Step 3: Design Your Feeding System
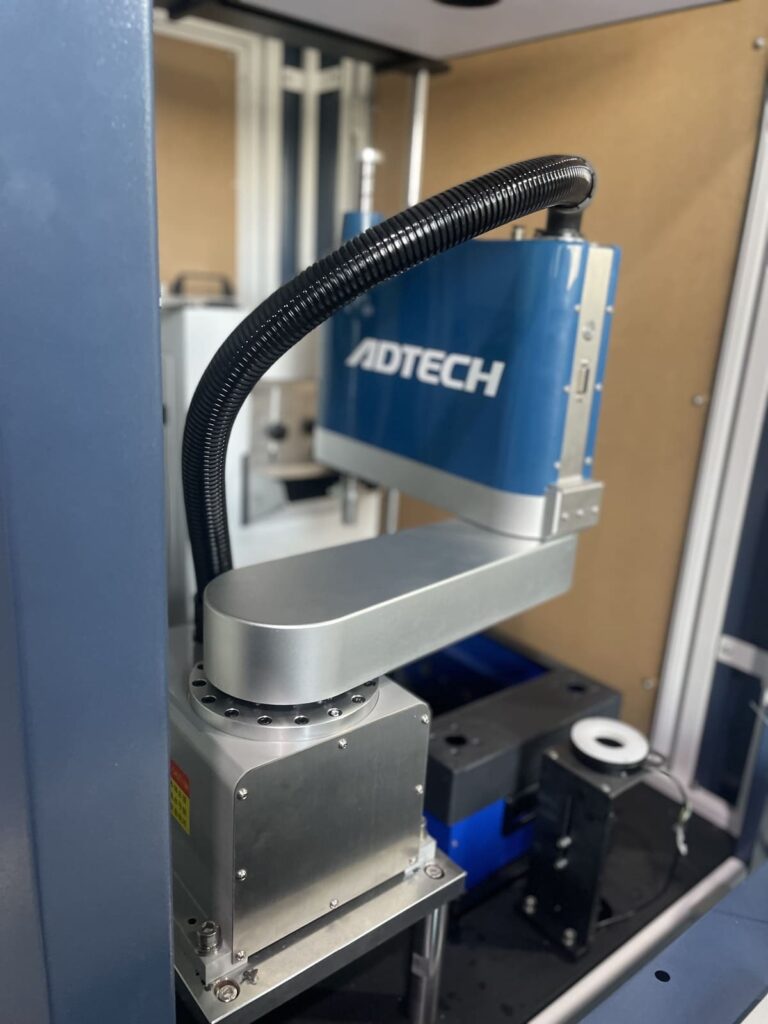
The next step is to design your feeding system. This includes designing the feeder bowl, feeder base, and other components to ensure that they are compatible with your assembly line.
Step 4: Test Your Feeding System
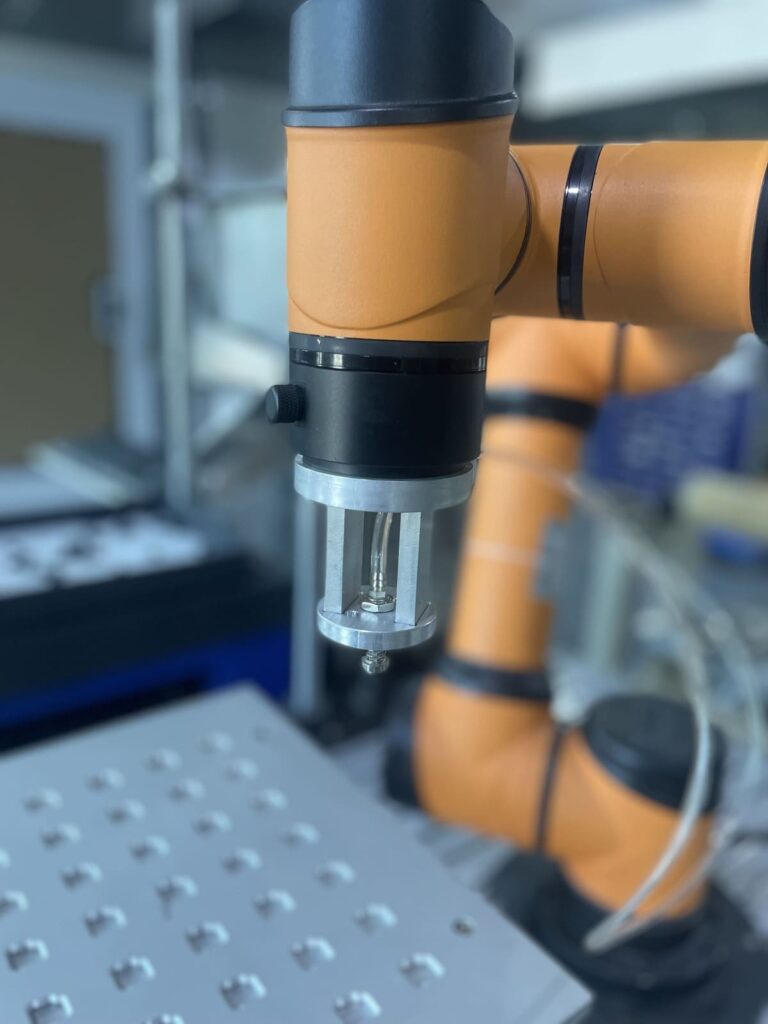
Once your feeding system has been designed, the next step is to test it. This involves feeding parts or products through the system to ensure that it functions properly and that the feeding rate meets your requirements.

Step 5: Integrate Your Feeder into Your Assembly Line
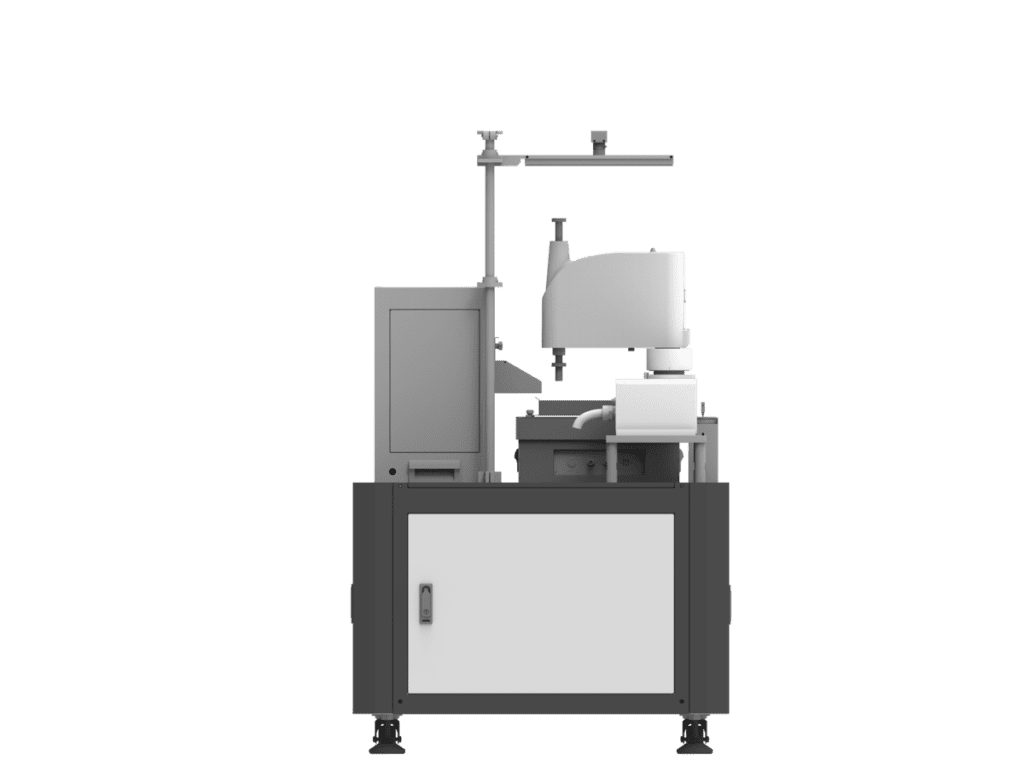
The final step in the integration process is to integrate your feeder into your assembly line. This involves connecting the feeder to your assembly line and testing it to ensure that it functions properly and that the feeding rate meets your requirements.
FAQs
Q: What types of parts and products can be handled by a flexible feeder?
A: Flexible feeders can handle parts and products of varying sizes, shapes, and materials. They are particularly useful when dealing with irregularly shaped parts or products.
Q: How do I determine the feeding rate required for my assembly line?
A: The feeding rate required for your assembly line will depend on several factors, including the number of parts or products required per unit of time and the speed of the assembly line.
Q: What is the difference between a vibratory bowl feeder and a vision-guided feeder?
A: A vibratory bowl feeder uses vibration to feed parts or products through the system, while a vision-guided feeder uses a camera and software to identify and feed parts or products.
